
DIY: How To Make Your Own Wedding Chandeliers

Weddings are a momentous occasion that calls for a grand celebration. And what better way to celebrate this beautiful day than with stunning decorations? Weddings are often expensive, and one of the costliest elements is the décor. However, many DIY décor projects can help you save money and add a personal touch to your big day. One such project is creating your wedding chandeliers. Chandeliers can add a stunning and elegant feature to any wedding, and it is easier to make them than you might think. In this blog post, we will guide you through how to make your wedding chandeliers and provide some helpful tips and tricks along the way.
Pick a Theme

The first step towards creating your perfect chandelier for your wedding is to decide on the theme. The theme will help you determine the shape, materials, and colors to be used. For example, if you’re going for a rustic look, you can opt for a cage-shaped chandelier made of wood or metal. Alternatively, if you’re more into a fairytale-like theme, you can create a hanging floral chandelier with fairy lights.
Materials Needed
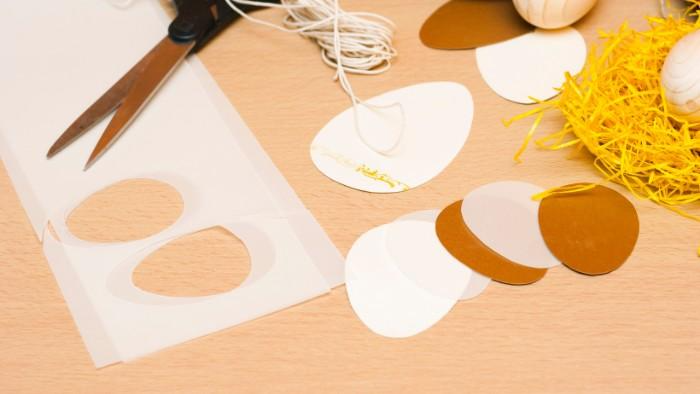
To create your own DIY wedding chandelier, you’ll need the right materials. You’ll need a large wire wreath frame, string, a glue gun, gloves, and scissors. Tape and fishing line are also an alternative to a glue gun if you happen to have those more readily available. Depending on your preference, you can choose different types and sizes of decorations. If you’re not able to find a suitable wire wreath frame, a hula hoop will work. You can attach flowers or ribbons in your wedding ceremony colors to add themed decorative elements to your chandelier. To give the chandelier a unique look, you may even want to create clusters of beads of different colors or fresh foliage. You’ll also need glitter or metallic spray paint if you plan on giving the finished product a shiny finish. Lastly, make sure to have some lightbulbs handy so that you can attach them to the hula hoop and hang it up at the wedding venue.
Chandelier Creation Process

Once you’ve gathered all your materials, it’s time to start making your wedding chandelier. Here’s a step-by-step guide on how to make one of your own:
1. Begin by hanging the hula hoop or wire wreath in the center of the room by using hooks and string at a height that’s easy for you to work with. Make sure that it’s hanging horizontally, or the same way that it would when it’s suspended from the ceiling.
2. Take a piece of string and tie it to one end of the hula hoop. Pull the string through the middle and secure it at both ends with an extra knot. This will be used as a base for hanging crystal beads or pearls. Secure your chandelier by tying extra knots and use crimp tubes and pliers when securing your knots for a more steady chandelier.
3. Now comes the fun part. It’s time to decorate the chandelier. Thread the crystal beads or pearls through the string and tie a knot at each end to keep them securely in place. You can add as many beads as you’d like, but make sure they are evenly distributed around the hoop for a beautiful effect.

If you’ve chosen to make a beautiful floral chandelier, attach fresh flowers (or fake flowers) around the base and fix them with glue. Fill in any gaps with small flowers and extra greenery evenly. You can even take the time to create layers with the foliage wrapping around an extra wire ring, or play around with different shapes you can make. After that, string some fairy lights around the flowers and attach them to the base. For a rustic cage-shaped chandelier, hang some colorful beads or add some wrought-iron accents around the cage.
4. If you’d like to add charms or ribbons, create small loops from your ribbon and attach them to the hula hoop with a glue gun. Similarly, take any charms of your choice and attach them to the looped ribbons using hot glue or floral wire for extra security. Be sure to wear gloves to avoid injuring yourself with the hot glue.
5. Now, attach the lightbulbs or fairy lights to the frame using zip ties, and make sure they are facing outward. You can also choose to add a dimmer switch to adjust the intensity of your chandelier’s light.
Hanging The Chandeliers

Once all the lights are added, you can attach the completed chandelier to the ceiling or hanging point using the fishing line. Test to see if it will hang correctly and securely hold the weight to avoid any accidents on your wedding day.
Make sure you have more than enough chandeliers to fill the space. One stunning chandelier will not do much to enhance the beauty of the venue. So, either have a few small ones at different table settings or opt for a few large ones in different parts of the venue. One of the most elegant ways is by creating a ‘tree of light’ that features several chandeliers. You can accomplish this by hanging multiple chandeliers from a wooden frame staged in the center of the room or outdoor venue. The chandeliers you make can be a test of creativity that adds the elegance and grace required for the perfect wedding.
Maintenance

Finally, your chandeliers will require a certain degree of maintenance to stay fresh and sparkling throughout the big day. Before the wedding day, ensure that all the chandeliers are securely hung and appropriately balanced. You can then dust them periodically, but be careful not to damage the crystals or beads. To ensure your chandelier hangs steadily, each piece should be the same length. Once the wedding is over, safely remove and store your chandeliers for future use.
DIY Wedding Chandelier Examples:
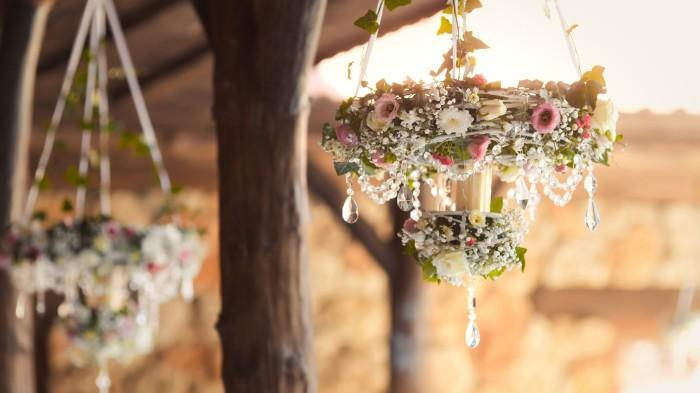
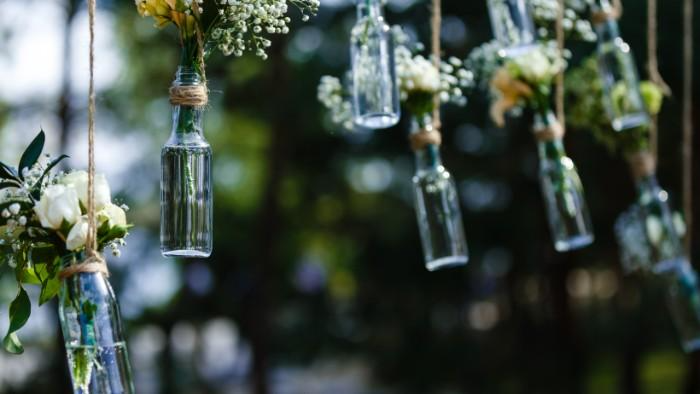
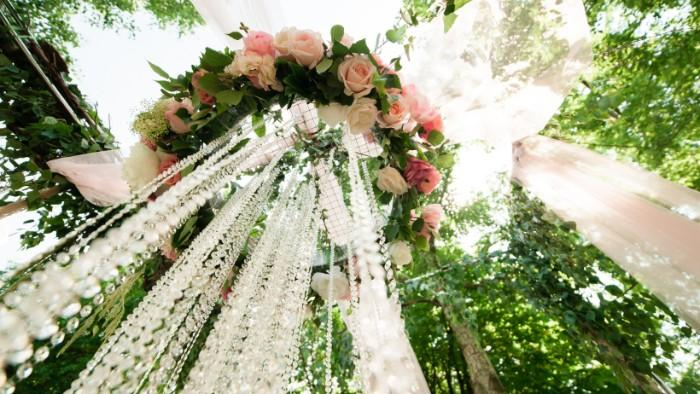
Flower Chandelier:
This flower-filled chandelier is easy to DIY and is perfect for a wedding with a romantic or rustic theme. Hang it over your sweetheart table or in the center of the dance floor for an unforgettable effect. You can also use twine, string, or ribbon to hang your chandelier if you’re going for a rustic or vintage feel.
Flower chandeliers have become a popular trend in recent times, and for good reason: they’re a beautiful addition to any home or event. A flower chandelier can transform a room or outdoor space into a magical, whimsical setting, and add a touch of elegance to a celebration.
Cage Chandelier:
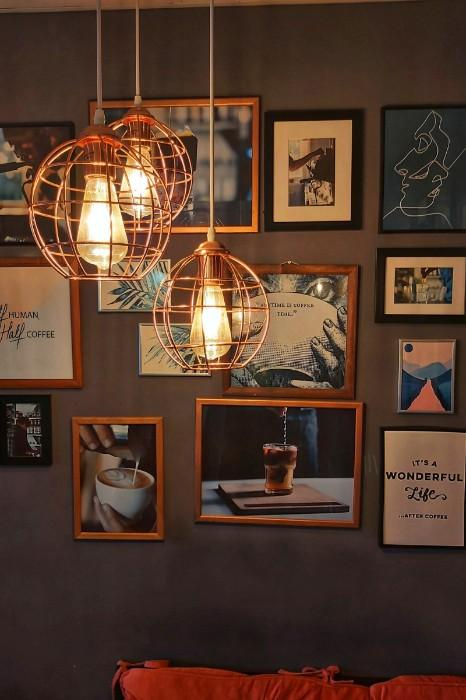
For a modern touch, hang up this lightweight cage chandelier. It’s perfect for adding a unique industrial flair to your wedding venue. You can use a large metal ring with a few layers of small metal rings to make this.
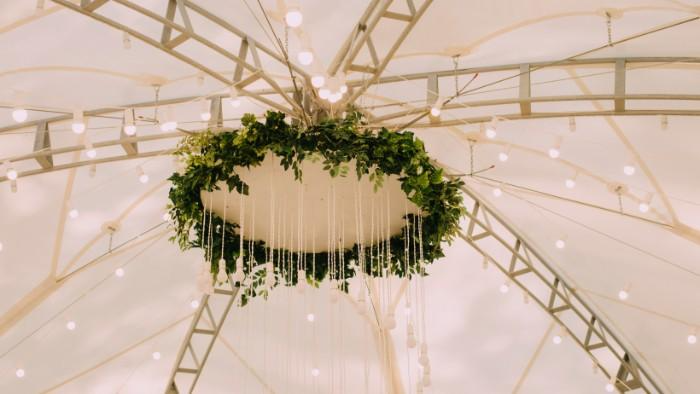
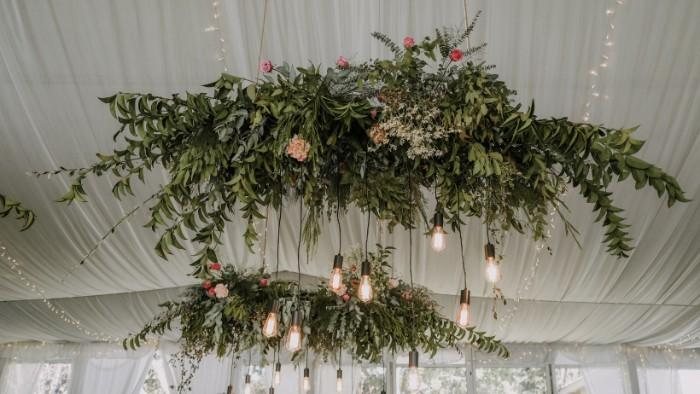
Lighted Wreath Chandelier:
If you’re looking for an eye-catching centerpiece, this lighted wreath chandelier is the way to go! The fairy lights will give off a beautiful twinkle in the night.
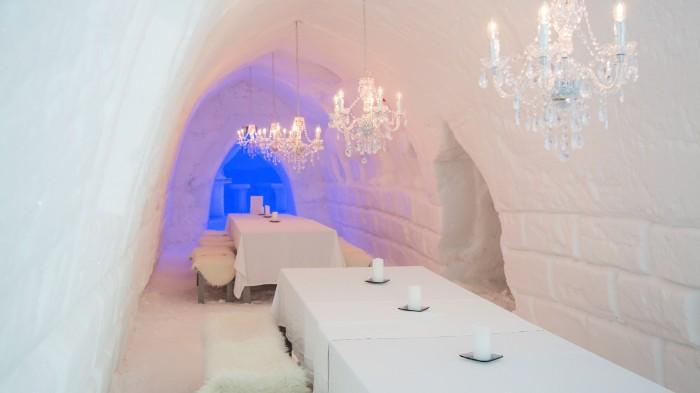
Crystal Chandelier:
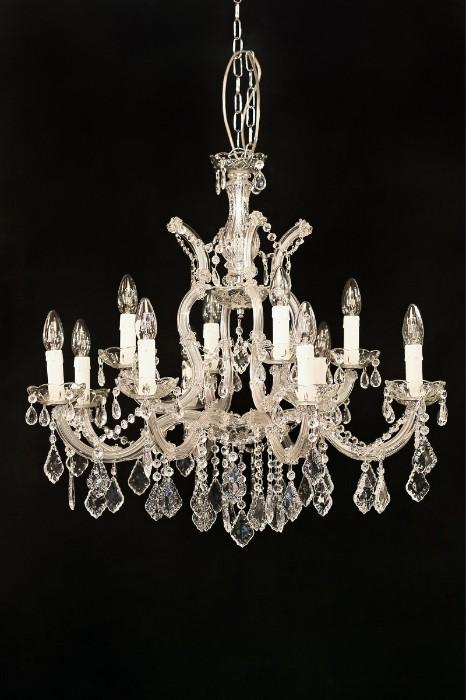
For a more traditional look, hang this dazzling crystal chandelier over the top table. The crystals will reflect and sparkle in the light for a truly mesmerizing effect!
Petal Chandelier:
This petal-covered chandelier is perfect for an outdoor wedding. Hang it up at the entrance or in the middle of your ceremony for a beautiful, romantic look.
Paper Chandelier:
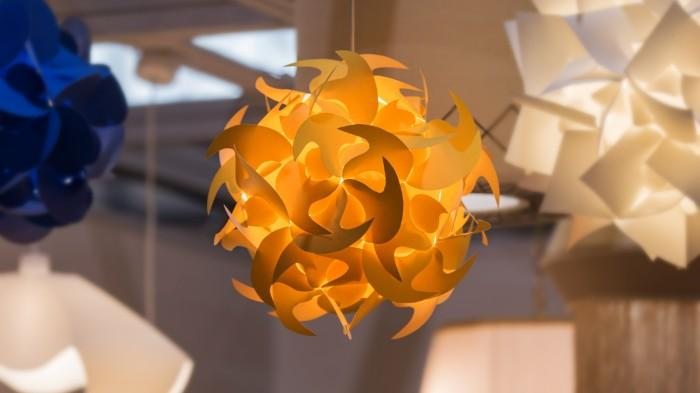
This paper chandelier is an easy and affordable way to create a stunning focal point for your reception area. The origami material will give off an ethereal glow in the light.
Feather Chandelier:

For a dramatic effect, hang this feather-filled chandelier in your reception area or above the dance floor. The feathers swaying in the air will be sure to captivate guests!
Lantern Chandelier:
This lantern chandelier is perfect for adding a bit of rustic charm to your wedding. Hang it over the top table or in the center of the reception area for a beautiful effect.
Beaded Chandelier:
This beaded chandelier is perfect for creating a glamorous atmosphere in your reception hall. The intricate design will be sure to dazzle guests and make your special day even more memorable.
Hanging Candle Chandelier:
This hanging candle chandelier is perfect for a romantic evening reception. The flickering flames from the candles will create an enchanting atmosphere that everyone will enjoy! Battery-operated candles can give you that romantic glow without any fire dangers.
Faux Flower Chandelier:
This faux flower chandelier is the perfect solution if you want to add a touch of nature and beauty to your wedding venue. They can give you the same look as using your favorite flowers, but without all the fuss. Using faux flowers can be as simple as using silk flowers from your local craft store, but you can also get a bit more creative.
Embroidery Hoop Chandelier:
This embroidery hoop chandelier is not only beautiful but also easy to make. Hang it up in the center of your reception area for a unique and captivating look!
Basket Chandelier:

For a more casual look, hang this basket chandelier over your reception table or dance floor. The natural materials will give off an elegant vibe that everyone can appreciate!
Tips On How To Choose A Perfect Wedding Chandelier Design For Your Wedding:
1. Decide On A Theme:
Selecting the perfect wedding chandelier starts with deciding on a cohesive wedding theme. Whether your wedding is traditional, rustic, modern, or something in between, choose a style that ties into the overall vibe of your celebration.
2. Measure Twice And Buy Once:

When it comes to selecting materials for chandeliers, it’s important to measure twice and buy once. Measure the height of your ceiling and make sure your desired length leaves room for the chandelier to hang properly.
3. Utilize Natural Light:
If possible, opt for a design that allows natural sunlight to filter through during the day. This will create an airy and illuminated atmosphere that will be sure to capture guests’ attention.
4. Get Creative:
Don’t be afraid to think outside of the box when it comes to designing your wedding chandelier! There are a variety of unique and beautiful designs available, from cage chandeliers to petal-covered ones, so don’t be afraid to do something different.
5. Choose Wisely:
When selecting materials for your chandelier, quality over quantity is the key. Make sure you purchase decorative pieces that are not only visually appealing but are also well-constructed.
6. Add Your Personal Touch:
Add greenery, your favorite fresh blooms or whichever beautiful decor element that you or your partner personally like for a unique touch to your wedding chandelier. This will help make it truly reflect you and your partner’s style. Be mindful of the size and colors of the materials you use so that it goes with the theme of your wedding. With these tips, you can easily craft the perfect wedding chandelier design for your special day!
What To Avoid In The Creation Process:
1. Over-Decorating:
When making your own chandelier, it’s important to remember that less is more when it comes to decorating. Avoid using too many colors, decorations, or materials in your design as this can make your chandelier look busy and cluttered.
2. Heavy Materials:
When selecting materials for your chandelier, it’s important to avoid using anything that is too heavy as this can cause your chandelier to be unstable. Choose lightweight materials such as paper, fabric, and beads.
3. Poor Construction:
Before hanging your chandelier, make sure all the pieces are securely fastened together. If the construction is poor, your chandelier may not stay up for long and could pose a safety hazard.
4. Unsafe Wiring:
If you are using electricity to light your chandelier, don’t attempt to do any wiring yourself! It’s important to hire an electrician who specializes in wedding lighting to ensure that all wiring is done safely and professionally.
5. Unsafe Location:
Avoid hanging your chandelier in direct sunlight, near heating and cooling vents, or near open windows.
6. Avoid DIY Disasters:
DIY projects can be incredibly rewarding, but they can also be disastrous if not done correctly. Before attempting to build your wedding chandelier, make sure you read up on the proper materials and techniques needed to ensure a successful outcome.
As you can see, creating your wedding chandeliers is a simple and fun process that not only saves you money but also allows you to add a personal touch to your special day. Not only can you personalize your décor, but you’ll also have a unique and beautiful chandelier that you can keep and reuse for years. Whether your wedding is a small, intimate gathering or a grand, extravagant affair, these chandeliers will add a touch of glamour and elegance that will be admired when your guests arrive. With these simple steps, you’ll be able to create a chandelier that will make your wedding day an event to remember. So, why spend a fortune on buying ready-made chandeliers when you can make your own at a fraction of the cost? Get creative and start making your DIY wedding chandeliers today! If you’re in need of some crafting supplies, or if you’re in search of some wedding invitations, Occasions may have just what you need! Visit our store or our site to see if we’ve got what you’re looking for!